Getting a Valibox Device
To start with, you will need a device to turn into a Valibox. If you are reading this because you have already created or received a Valibox device, please proceed to the next section.
You can make one yourself by downloading an image from our Downloads page, and following the installation instructions there. Currently we have images for two GL-Inet devices: the GL-AR150 and the GL-MT300A. Moreover, we have images for the Raspberry Pi and Virtualbox as well. If the images there are not suitable for your specific device, the Developer Guide contains instructions on how to compile an OpenWRT image with the Valibox software.
The instructions below are specific for these GL-inet devices, but should be applicable to most, if not all, other devices running the Valibox software.
Installing the Valibox
To install the Valibox in your network, follow the following steps:
- Connect the Valibox to your network by plugging a UTP cable to the ‘WAN’ port on the back of the device.
- Connect a micro-usb cable to the power port of the device.
The USB cable does not need to be connected to a computer, it is just there for power.
Initial boot
The first time you start the Valibox, it may take a few minutes while the device is getting settled.
-
At some point you should see a new WiFi network called ‘SIDN-Valibox-(code)’. The code should match the last 3 letters of the MAC address printed on the bottom of the Valibox. Connect to this network. The default wifi PSK is ‘goodlife’, but you will be prompted to change it as soon as you connect.
-
Open a browser and go to http://valibox. or if that does not work http://192.168.8.1.
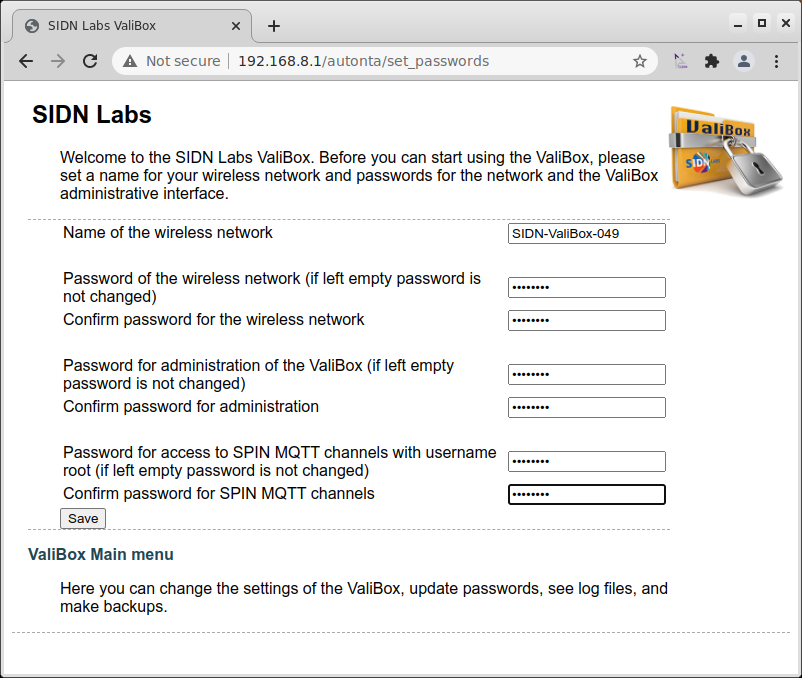
You should get the following page:
If you get an error ‘502 Bad Gateway’ you may need to wait a little bit longer until the device has finished starting up.
On this screen you can set up 4 things:
- A new name for the wireless network
- A password for the wireless network
- A password to administer the machine
- A password to access the [SPIN Network Monitor](#SPIN Network monitor)
Once you have set new values, the valibox will configure and restart some services, and you are ready to go. If you have changed the wireless network name or password, you may need to reconnect to the wireless network.
Valibox usage
Connecting computers
Just use the wifi or plug in a cable to the LAN port on the back of the device.
Browsing the web
The Valibox works similarly to other routers or access points.
Bridge mode
When using the Valibox on a GL-Inet AR-150 device with Valibox version 1.11 or above, there is an option to switch from the default NAT-mode (i.e., the device running it’s own network under 192.168.8.*), to a bridge mode. In the bridge mode, the Valibox will not run a DHCP server. Devices connected to the LAN-port of the Valibox get their IP address upstream. This allows the Valibox to run in the network transparently. Moreover, wifi is disabled in bridge mode.
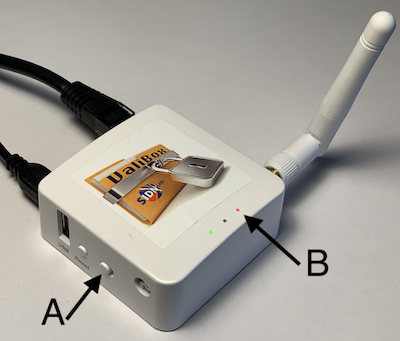
On the GL-Inet AR-150, you can switch this behavior using the physical switch A (see image). When facing device from the side of the switch, left activates the (default) NAT mode and right activates bridge mode. To indicate which setting is active, the right-most amber LED light is used (B in image). When the bridge mode is active, light B is on. When NAT-mode is active, light B is off. During configuration changes (from bridge to NAT or vice versa), light B will blink.
If you are running the Valibox on another device, there is currently no build-in support for a bridge mode. You can, of course, activate it yourself in the OpenWRT configuration interface.
Configuration
If you want to have any special configuration, browse to http://valibox.. and click ‘configuration’. You will be presented with the OpenWRT configuration screen. The login name there is ‘root’ and the password is the password you have set on first use.
There is a tab there with Valibox-specific settings. All other pages there are the standard OpenWRT configuration pages.
Handling DNSSEC failures
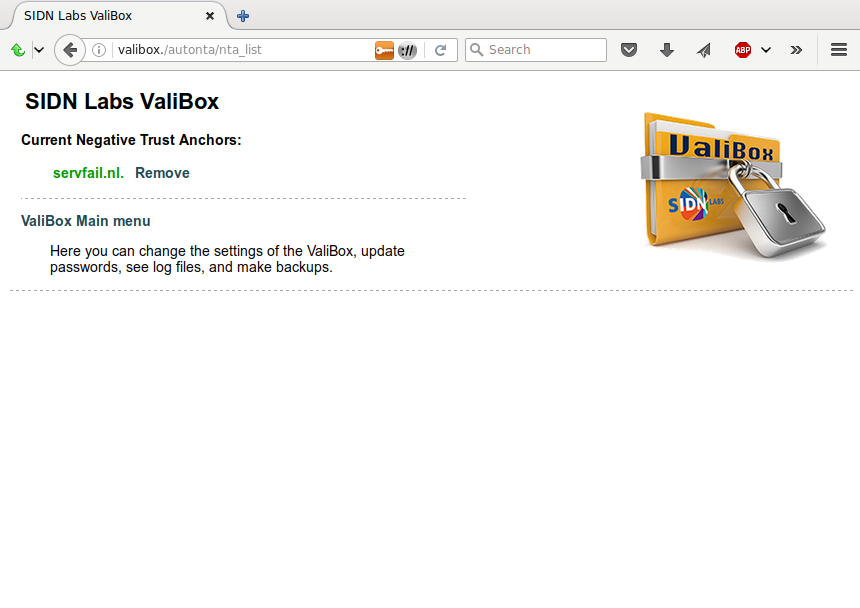
If you try to visit a website that fails DNSSEC validation, instead of the normal ‘host not found’ message in the browser, you will be redirected to the NTA management page:
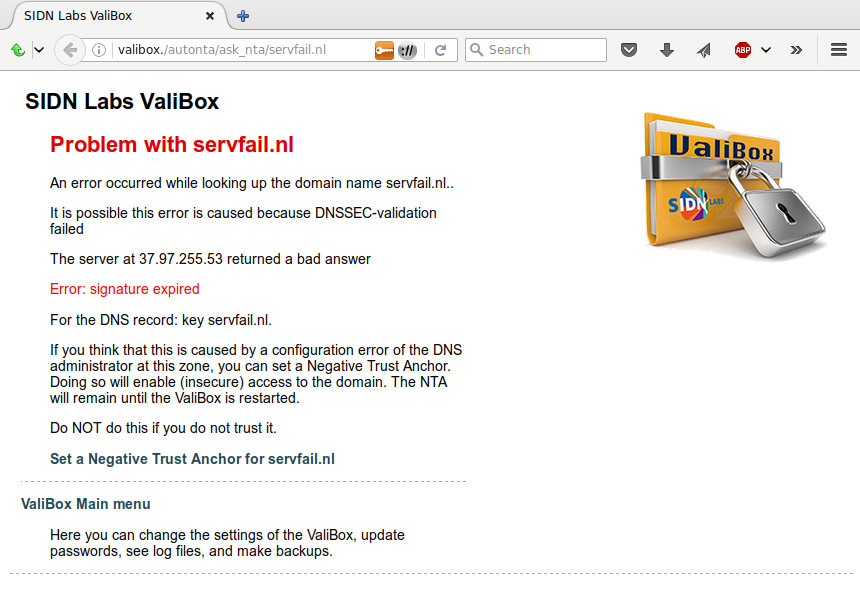
This page shows the error and gives you the option to ignore it, and visit the website anyway.
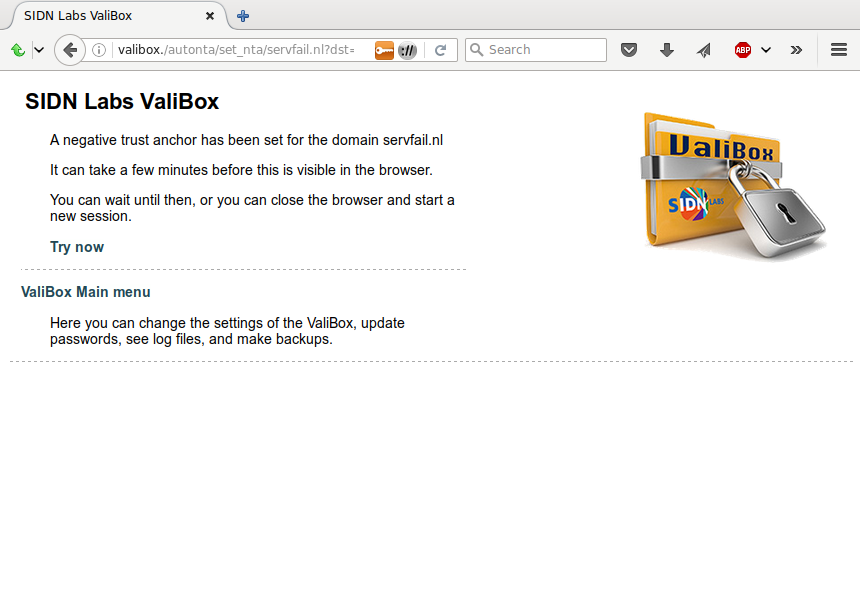
If you want to remove NTAs; either reboot the Valibox or go to http://valibox. and select NTA management.
Notes:
- If you ignore DNSSEC errors, you do so at your own risk! While it could be an administrative error, it could also indicate an attack!
- If the DNSSEC error occurs on an https website, you will get an https error as well (since it is the Valibox that is answering, not the original website)
Managing and Updating the Valibox
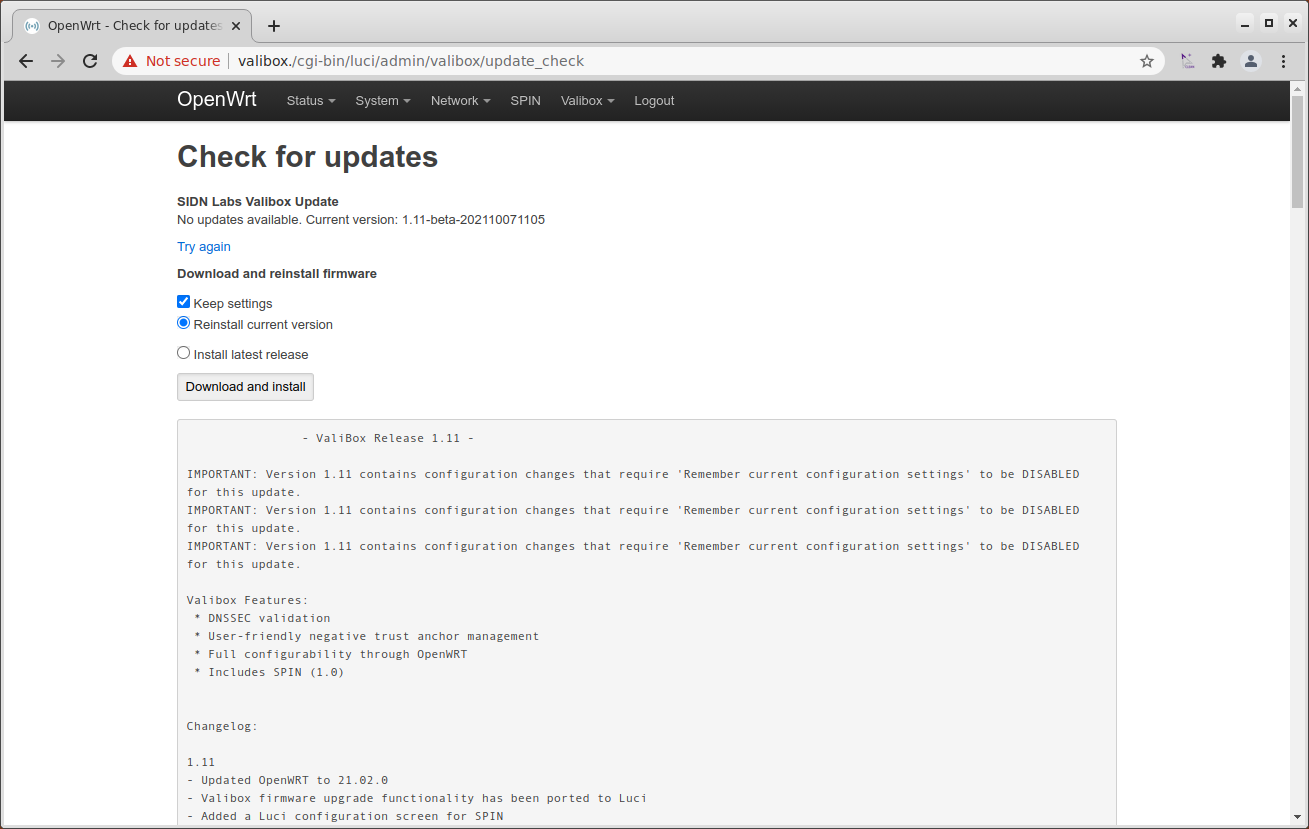
You can check whether there is an update for the Valibox by visiting the website http://valibox. and selecting ‘firmware upgrade’.
- If there is an update available, you will be prompted to install it.
- With the update, you get the option to delete all local configuration.
Note: older versions (1.2 or below) may have problems updating through this method on some devices; it will say it is updating but the new version is not installed. If that happens, you can download a clean image from https://valibox.sidnlabs.nl/pages/download.html and install it from the LuCi-interface, which can be reached from the main menu on http://valibox./.
SPIN Network monitor prototype
The Valibox also contains the prototype of our SPIN software. In its current version, it allows you to see and block the network traffic of the connected devices.
If you connect a computer to the Valibox wireless or wired connection, you can go to https://valibox./spin/graph.html to use SPIN.
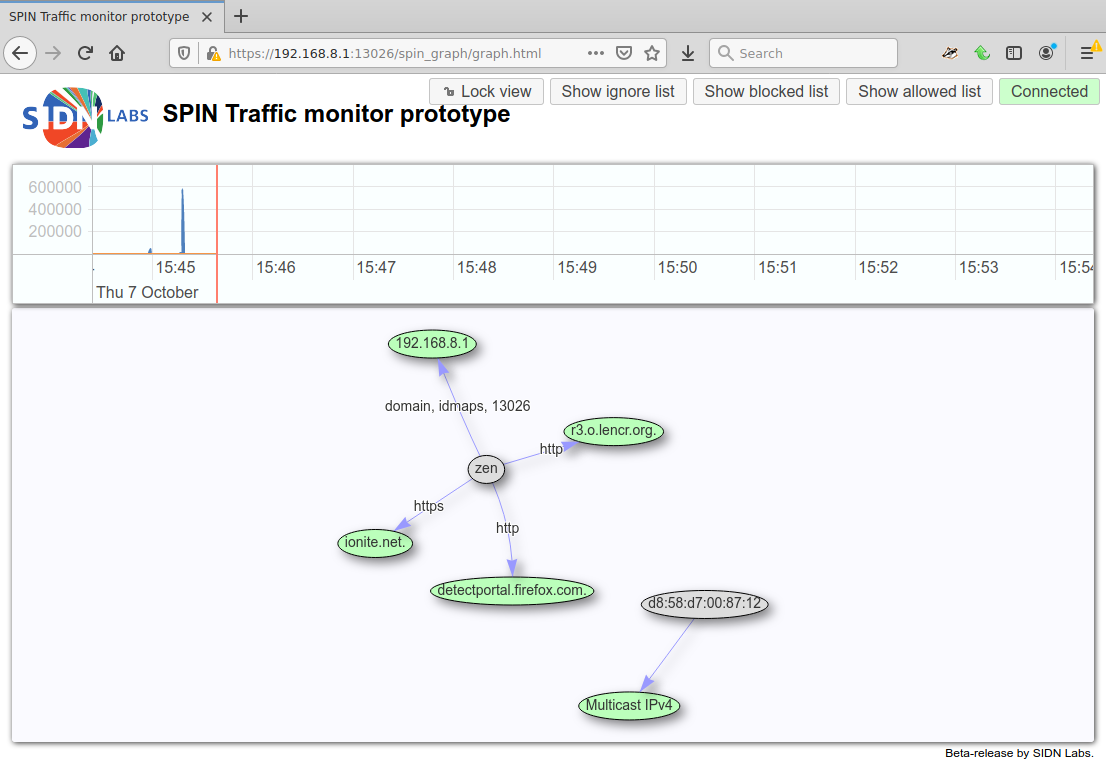
The grey nodes are ‘internal’ nodes; if the name of this device has been configured (in DHCP settings of LuCi) it will show that name, but otherwise it will show a MAC address. You can click on the node and give it a new name if you wish; it will use that name from then on.
Other options when clicking on the node are:
- Ignore: no longer show any traffic of this device. This option is useful when there are real computers or laptops (or phones) that simply cause so much traffic that you are not interested in, and you wish to focus on your IoT devices.
- Block: drop all traffic from and to this device. This will essentially remove the device from the Internet. It can still talk to the Valibox, and it can still do DNS queries, but it will not be allow to cause or receive any actual traffic. Any attempts to do so will show up as red bubbles in the interface.
- Allow: The inverse of block. This will allow traffic to and from a node that was blocked by the previous option. The use-case here is that you may wish to block a specific device, but allow traffic to the server of the manufacturer of that device. In that case you click the device, click block, then click the bubble(s) representing the manufacturer (identifiable for instance by domain name), and click allow.
- Download PCAP Traffic: When clicked, this opens a popup screen, from where you can start a remote tcpdump session. PCAP data can be downloaded directly to your desktop machine without having to log in over SSH and copy pcap files. This option is only present on device nodes, and the resulting pcap file will only contain traffic from and to that specific device.
On the top right are four global options:
- (un)lock view: Disable or enable automatic zoom and scroll as new information appears
- Show filter list: show the list of ignored addresses; you can remove elements from the list here. If you select ‘reset’, it will return to the default (only ignore the valibox itself).
- Show blocked list: show the list of blocked addresses; you can remove elements from the list here.
- Show allowed list: show the list of allowed addresses; you can remove elements from the list here.

The bubbles and arrows can have several colours:
- Grey: This is a local device / node
- Green: This shows a node that was involved in recent traffic (less than 30 seconds)
- Blue: This shows a node that was involved in slightly older traffic (30 seconds to 10 minutes)
- Orange: This shows a DNS query for a node, which has not resulted in any traffic (yet).
- Red: Blocked traffic attempts